Advanced Test Setup
What you should already know
We assume you have already familiarized yourself with the basic concepts used in Predator and that you successfully created your first test. If not, we strongly recommend you first complete the steps in the My First Test topic before proceeding with the instructions below.
Data Reuse with Variables#
The Captures field of the HTTP request properties allows you to extract (capture) data from the request response and store it in a variable for reuse in another request. Use JSONPath syntax to extract the data of your choice. In the following example we extract the id field and store it in a petId variable:

You can then use petId in a request by placing it between double brackets, like so:
{{petId}}
Here's an example of using {{petId}} in the request path:

Pick a random element from an array#
When capturing responses data, you may want to randomly select an item from your dataset to continue with your scenario.
This is achieved by using the * operator, which selects all the matching items. The engine will then randomly pick a single item for you and store it in the defined variable.
Usage example :
 on
on
[
    {
        "id": "45697038-37ae-4149-9f5e-ed7a4a20e014",
        "data": "132456789"
    }, {
        "id": "f02392e8-1b11-401f-a902-8a9a1ae5c47a",
        "data": "abcdefghi"
    }
]
45697038-...-ed7a4a20e014 or f02392e8-...-8a9a1ae5c47a in {{dataId}} for further usage in the scenario.
CSV Files#
Supported from version zooz/predator:1.4.0
Predator supports uploading CSV files and using them as data set for the test.
Each new virtual user that starts a scenario will pick a row from the data set.
Usage Example:
- Save a csv file with headers and delimited by ','
amount, currency
10, USD
30, GBP
50, EUR
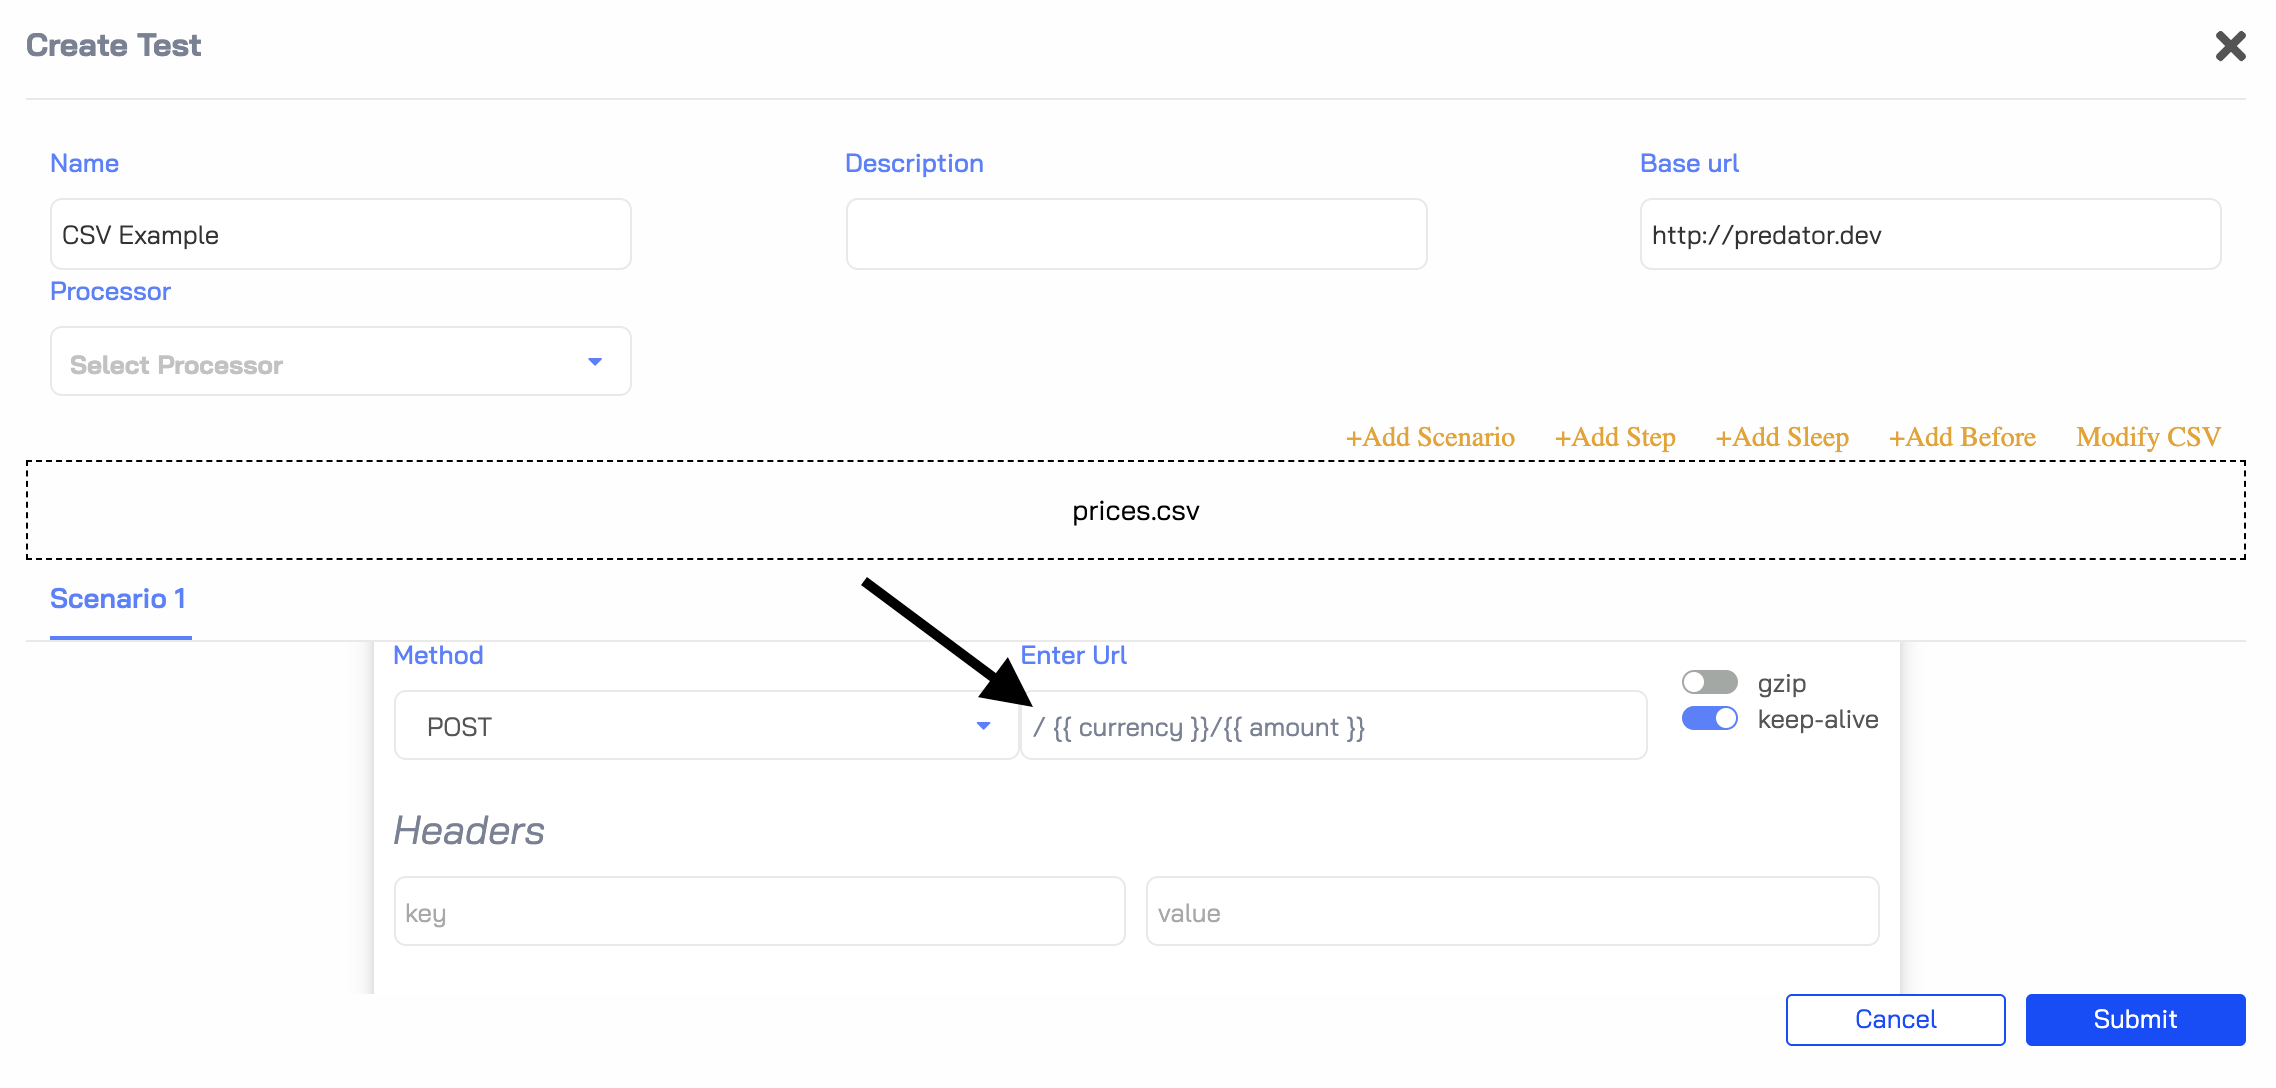
- When creating a test, click on add 'Add csv' and drag and drop the file into the box
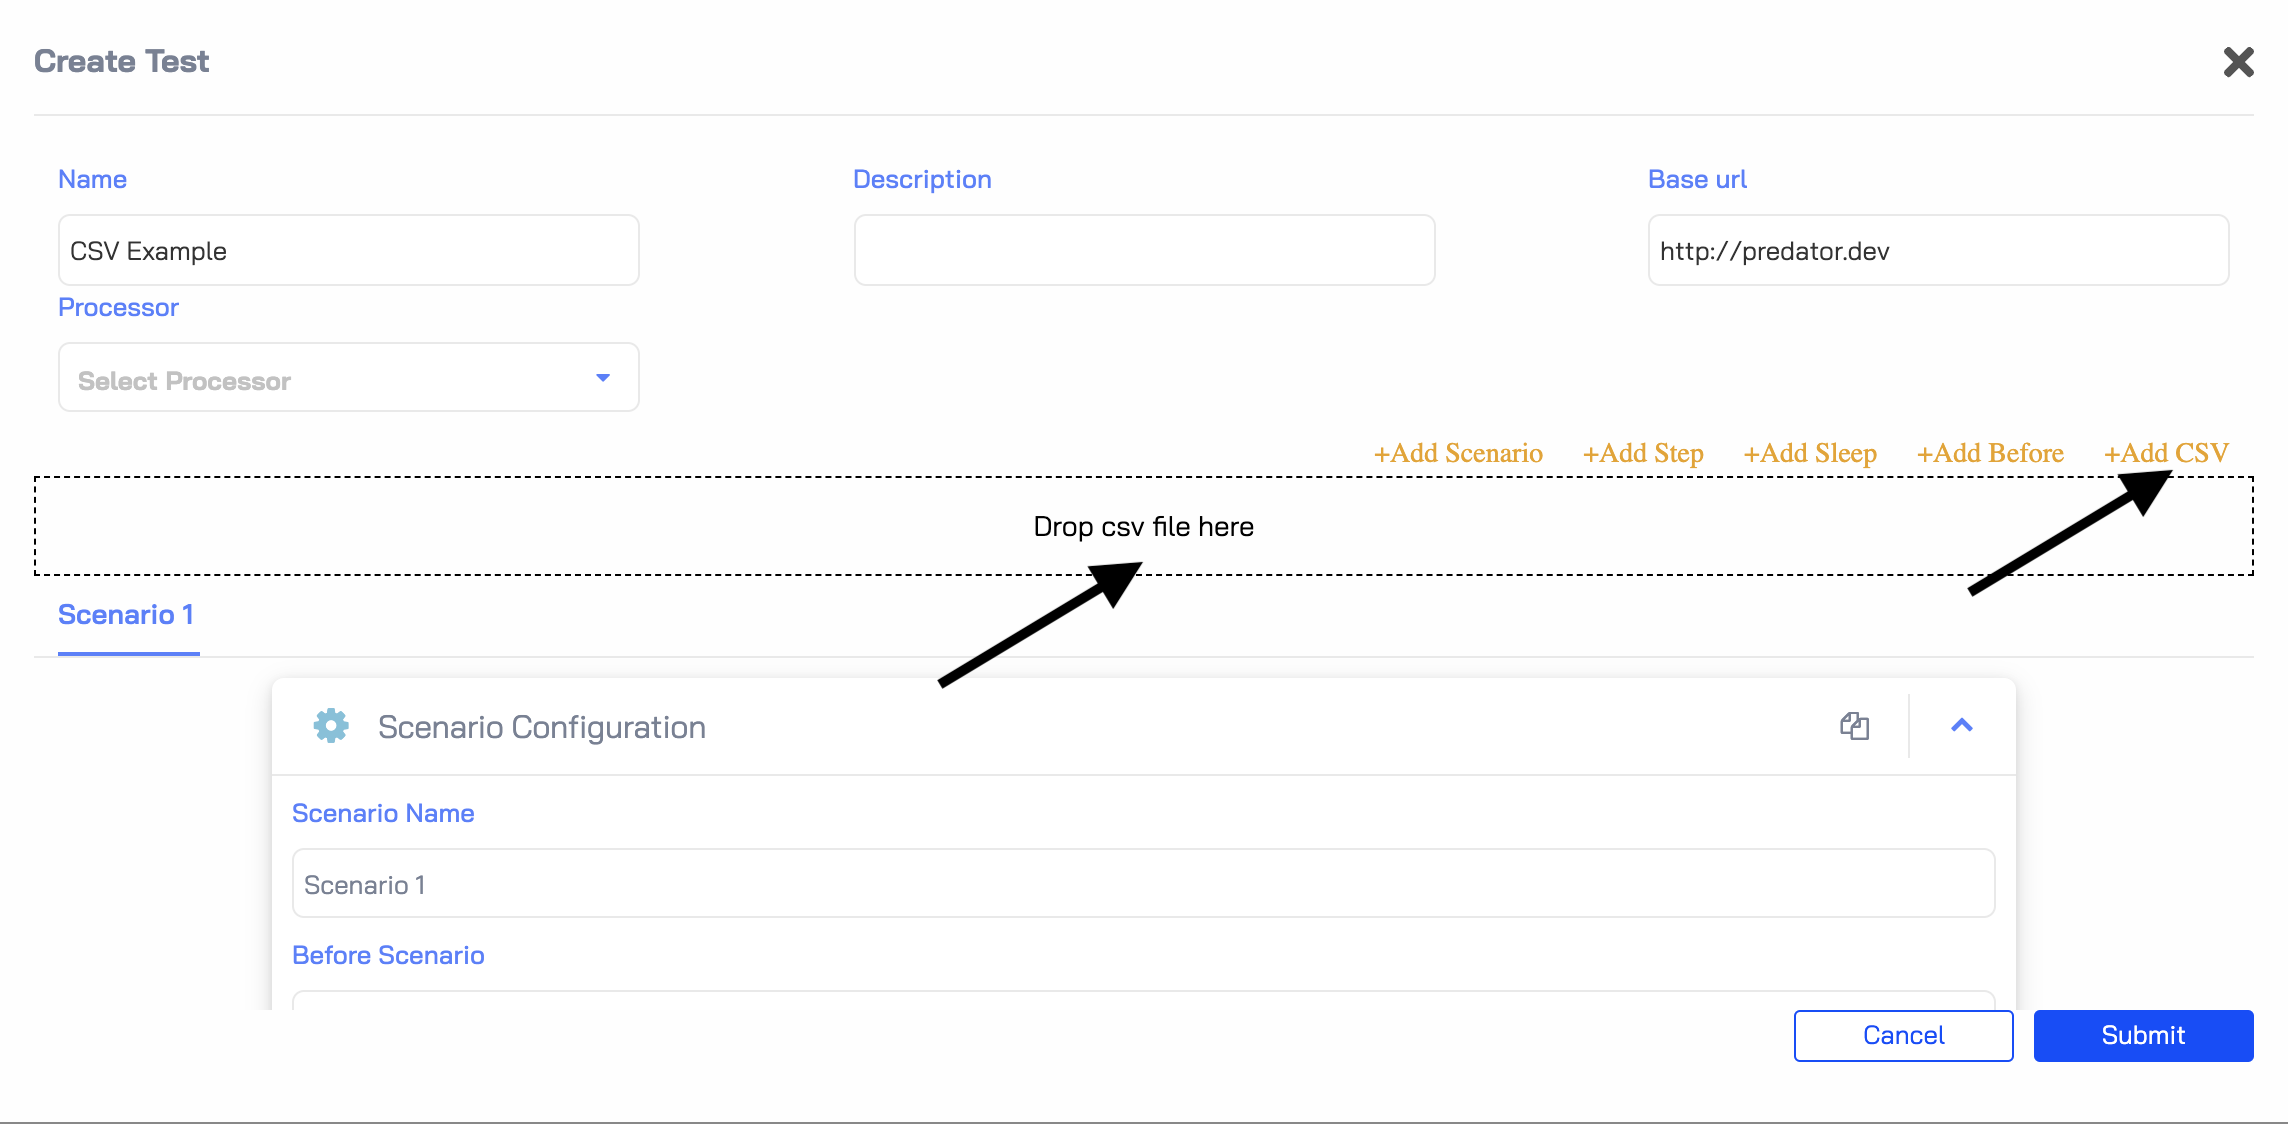
- All headers available in the csv are ready to use as variables
Built-in Functions#
Predator supports some generic functions out of the box and they can be used to generate random data.
$randomNumber(min, max)will generate a random number within the provided range.$randomString(length)will generate a random string with the specified length.$uuid()will generate v4 UUID.$dateNow()will generate a number of ms since epoch.
Currently these functions all return values as a string. An issue is open regarding this: #178
Usage example:
{
    "id": "{{ $uuid() }}",
    "name": "{{ $randomString(6) }}",
    "age": "{{ $randomNumber(0,15) }}",
    "created": "{{ $dateNow() }}"
}
Request Reuse with DSL Definitions#
This is the moment where Predator shows its teeth and unleashes its true power.
Writing a performance test that checks specific parts of your API end-to-end can be a huge hassle, but now it is effortless. By creating DSL definitions using Predator's Domain Specific Language (DSL), request templates are generated which you can then reuse in the same test and in other tests under the same DSL type, reducing replication.
Let's dive right in and get going with our first DSL definition.
Predator API
This functionality is only available through the Predator API.
Creating a DSL Definition#
Before you can use a DSL definition, you must create it first. You do so by invoking the Create DSL Definition request. Here's an example request body for creating a DSL definition of a GET request. Notice how we use the {{petId}} in the url endpoint (we will create this variable in the example of a POST request DSL definition):
{
    "name": "get-pet",
    "request": {
        "get": {
            "url": "http://127.0.0.1:3000/pets/{{petId}}"
        }
    }
}
The request body for creating a DSL definition of a POST request is a bit more elaborate, since it requires that you pass in the entire body that makes up the POST request. The following example shows how to do this. Notice how we add a capture array, in which we define the petId variable for storing the pet ID. We can then reuse it in another request (like in the example of a GET request above).
{
    "name": "create-pet",
    "request": {
        "post": {
            "url": "http://127.0.0.1:3000/pets",
            "json": {
                "name": "mickey",
                "species": "dog"
            },
            "capture": [
                {
                    "json": "$.id",
                    "as": "petId"
                }
            ]
        }
    }
}
Creating a Test that Uses the DSL#
Tests that use a DSL definition can only be created using the Create Test API request. The Create Test API request body must include all components that make up a test, including pre-scenario requests and scenarios. However, instead of defining the entire HTTP request in each scenario step (as you would through the Predator UI), you can now reference the HTTP request through its DSL definition. You do so, using the action property (in the steps array).
Here's an example:
{
  "name": "Pet store",
  "description": "DSL",
  "type": "dsl", // Make sure the type is set to DSL
  "before": {
    "steps": [
        {
            "action": "petstore.create-pet"
        }
    ]
  },
  "scenarios": [
    {
        "scenario_name": "Only get pet",
        "steps": [
            {
                "action": "petstore.get-pet"
            }
        ]
    }
  ]
}
There are two additional items to note:
-
The
typemust always be set todsl. -
The
actionvalue uses the following syntax:{dsl_group}.{dsl_name}, in which thedsl_groupis the name used in the path of the Create DSL Definition API request.
If you login to the Predator UI after creating the test, you will notice that the test has been added with a type of dsl.
You can now run the test as you would any other.

Creating a Test with Custom Logic in Javascript (Released in version 1.2.0)#
Tests can use custom Javascript functions. To use custom Javascript functions in your tests please refer to the processors documentation.
Debugging Test Requests/Responses#
It is possible to view all of the requests and responses that the predator-runner sends and receives while running load on the API. This is very useful when your test does not behave the way you expected it to and need the request/response to further investigate. The predator-runner will log this data to the log files which can be downloaded.
For the test to run in debug mode:
1. UI#
- Turn on the Debug flag when running a test
2. API#
- Add
"debug": "*"to the body of thePOST /jobsrequest